How to Remove Borders in Excel
If you are struggling with how to remove borders in Excel, then you have come to the right place. Borders can sometimes be useful for separating data or creating a visual hierarchy in a spreadsheet. However, in certain instances, removing borders can make your spreadsheet cleaner and easier to read. With Microsoft Excel, removing borders is a simple and straightforward process that can be done in just a few steps. In this blog post, we will guide you through each step of the process to help you easily remove borders in your Excel spreadsheet.
Introduction
Borders can be helpful in creating a visual guide in an Excel spreadsheet, but there may be times when you want to remove them. Whether you want to clean up a presentation or make the data easier to read, removing borders can help. In this blog post, we’ll walk you through how to remove borders in Excel.
Step-by-Step Directions
Select the Cells
The first step in removing borders in Excel is selecting the cells. You can select individual cells by clicking on them with your mouse. Alternatively, you can select multiple cells at once by clicking and dragging your cursor over the cells you want to include.
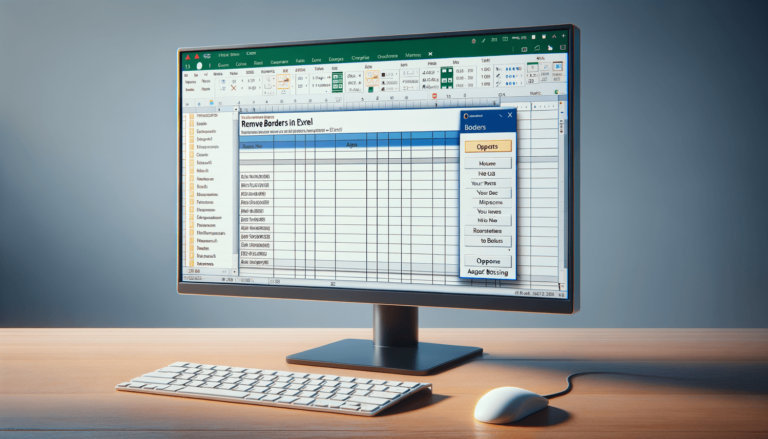
Open the “Borders” Dropdown
Once you’ve selected your cells, you’ll need to open the “Borders” dropdown. You can find this dropdown in the “Font” section of the Home tab on the Excel ribbon.
Choose the “No Border” Option
After opening the “Borders” dropdown, you’ll see a variety of options for border styles. To remove all borders, select the “No Border” option. This will remove any borders from the selected cells.
Check for Hidden Borders
If you’ve followed these steps but still see borders in your spreadsheet, there may be hidden borders present. To check for hidden borders, select all cells in the spreadsheet by pressing Ctrl+A on your keyboard. Then, open the “Borders” dropdown and select the “No Border” option to remove any remaining borders.
By using these simple steps, you can easily remove borders in your Excel spreadsheet to create a cleaner and more streamlined look. Whether you’re creating a presentation or just want to make your data easier to read, removing borders can help in getting your desired output.
Why Remove Borders in Excel?
Removing borders in Excel can make your spreadsheet look neater and more professional. A clean look can also help make your data easier to read. With too many borders present, your spreadsheet can appear cluttered and overwhelming. Hence, removing the borders makes each data element visually appealing.
Alternative Options to Borders in Excel
There are several alternatives to borders in Excel that may accomplish the same goal or look better. Consider using white space to separate data elements instead of lines. You can also use cell shading to create visible separations between data fields. Finally, using conditional formatting can add visual cues to your data without using traditional borders.
Common Issues in Removing Borders
Even though removing borders in Excel is a straightforward process, there are some common issues that people experience. Often, users may select only some cells to remove borders, leaving other borders visible that can obstruct data clarity. In some cases, hidden borders can still remain, and they may be visible when you print the spreadsheet. Therefore, it is essential to go through the steps carefully and take appropriate measures to check hidden borders.
Removing borders in Excel is a quick and easy way to make your spreadsheet look better. With just a few clicks in the Borders dropdown, you can create a cleaner and more professional look for your data. While using borders can be useful, don’t be afraid to experiment with alternatives to create a visually appealing and easy-to-read spreadsheet.
FAQ – Frequently Asked Questions
Here are some frequently asked questions about removing borders in Excel:
Can I remove borders for only specific cells in Excel?
Yes, you can! To remove borders for specific cells, select those cells, then follow the same steps mentioned in the blog post to delete borders. These steps only remove borders from the selected cells only.
What do I do if I accidentally delete a cell border in Excel?
You can restore the deleted border by clicking back to the Borders menu and selecting a border style to apply to the cell or cells where the border was deleted.
Can I remove or change the border color in the Excel spreadsheet?
Yes, you can remove or change it. To do that, follow the same instructions mentioned in this blog post, but instead of choosing “No Border,” choose a different border style or color that suits your preference.
Can I print my Excel spreadsheet without borders?
Yes, of course, you can. After removing the borders, just navigate to the “Print” option and choose the desired printer. Doing this will print your spreadsheet without any borders.
What are some alternatives to traditional borders that I can use in my spreadsheet?
Some of the alternatives to traditional borders include white space, cell shading, and conditional formatting. These techniques can help visually separate data fields without using traditional borders.