How to Format Date in Excel
If you’re struggling to format dates in your Microsoft Excel spreadsheets, you’re not alone. With so much data to manage, it’s essential to have a clear and organized method of formatting dates that makes it easy to read and understand. Microsoft Excel offers a variety of date formatting options that you can use to customize your data and ensure it is displayed exactly how you need it. In this blog post, we’ll take you through the steps you need to follow to format a date in Excel, so you can quickly and efficiently manage your data.
Date formatting in Excel: a step-by-step guide
Microsoft Excel is a powerful tool for managing data, and formatting dates is an essential part of ensuring that your data is organized and easy to read. Here’s how you can format dates in just a few simple steps:
Step 1: Select the cells you wish to format
Start by selecting the cells that contain the dates you want to format. You can do this by clicking and dragging your mouse over the relevant cells, or by clicking the header of a single cell to select the entire column or row.
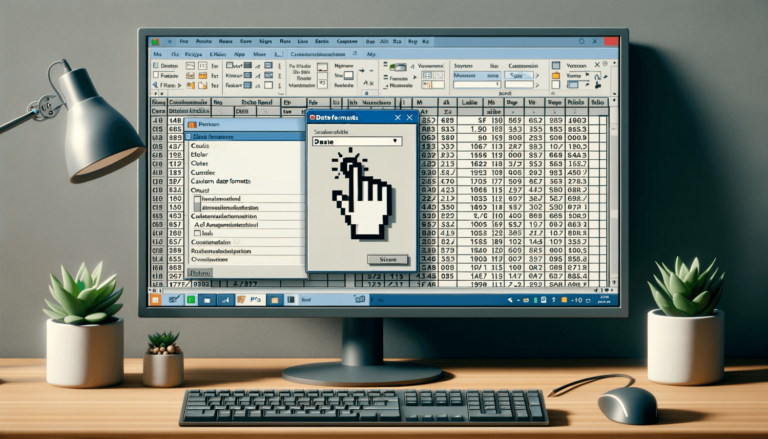
Step 2: Open the Format Cells dialog box
Once you have selected the cells you want to format, right-click on them and choose ‘Format cells’ from the dropdown menu. This will open the Format Cells dialog box.
Step 3: Select the date format you want to use
From the Format Cells dialog box, select the ‘Number’ tab. Underneath ‘Category’, select ‘Date’. From here, you will be presented with a variety of date format options to choose from. Select the format that best suits your needs.
Step 4: Customize your date format
If you want to customize your date format even further, you can use the ‘Type’ field to enter a custom date format code. This will allow you to display your dates in any format you like, including using specific date separators and formatting times alongside the dates.
Step 5: Apply your changes
Once you have selected or customized your date format, click ‘OK’ to apply your changes. Your dates will now be formatted according to your specifications, making them much easier to read and manage.
The importance of date formatting in Excel
Formatting dates in Excel may seem like a small detail, but it can make a big difference in how effectively you can manage your data. With the right date format, you can quickly identify trends, track progress, and easily compare data over time. Plus, well-formatted dates also add a layer of professionalism to your spreadsheets, making them easier to share and collaborate with others.
By following the simple steps outlined in this guide, you can quickly and easily format dates to suit your needs and get the most out of your Excel spreadsheets.
Best practices for date formatting in Excel
While the steps outlined above will help you format dates quickly and effectively, there are a few best practices to keep in mind to ensure your data is consistent, accurate, and easy to read.
Use a consistent date format
Once you have selected a date format for your data, it’s crucial to be consistent in your usage. Stick to one format across all of your worksheets and workbooks to avoid confusion and ensure that your data is easy to compare and analyze.
Store dates as date values
When working with dates in Excel, it’s important to store them as date values rather than text. This will allow you to perform date-specific calculations and comparisons. To convert text to date values, use the ‘Text to Columns’ feature in Excel or use a formula such as ‘DATEVALUE’.
Be mindful of regional date formatting differences
Excel may display dates differently based on the language and regional settings of your operating system. Make sure you are aware of these potential differences and format your dates accordingly or adjust your regional settings to match your desired format.
Formatting dates in Excel is a crucial step in managing and analyzing your data. The right date format makes it easy to spot trends, compare data, and share your findings with others in a clear and professional manner. By following the steps and best practices outlined here, you can ensure that your dates are consistently formatted and easy to work with across all of your Excel spreadsheets.
Frequently Asked Questions (FAQs)
Here are some common questions that come up when formatting dates in Excel:
1. How do I format a date to include the day of the week?
To include the day of the week in your date format, select the cell or cells you would like to format. Then, right-click and select ‘Format cells’. Under ‘Category’, select ‘Custom’. In the ‘Type:’ field, enter “dddd, mmmm dd, yyyy” to include the day of the week, followed by the month, day, and year.
2. How do I change the date format for an entire column?
To change the date format for an entire column, select the column header to highlight all of the cells in the column. Then, right-click and select ‘Format cells’. Follow the same steps as outlined in the main article to select the desired date format or enter a custom date code.
3. How can I display dates as the number of days since a specific date?
To display dates as the number of days since a specific date, first, enter the date you would like to use as the starting point in a cell. Then, format the cell as a number. Next, enter the formula ‘=A1-DATE(YEAR(A1),1,1)+1’ in another cell, where ‘A1’ is the cell containing the date you want to calculate and ‘YEAR(A1),1,1’ corresponds to the year, month, and day you want to use as the starting point.
4. What do I do if Excel is not recognizing my date as a valid date?
If Excel is not recognizing your date as a valid date, it may be due to formatting or regional settings. Try selecting the cell or column with the date and using the ‘Text to Columns’ feature to convert the data to date values. If that doesn’t work, check your regional settings to ensure that they match the date format you are using.
5. How can I automatically update dates in Excel?
You can use the ‘TODAY’ and ‘NOW’ functions in Excel to automatically update dates. The ‘TODAY’ function returns the current date, while the ‘NOW’ function returns the current date and time. Simply enter ‘=TODAY()’ or ‘=NOW()’ in the cell where you want the date to appear, and the date will update automatically whenever the worksheet is opened or recalculated.