How to Set Margins in Excel
Do you wish to improve your Microsoft Excel documents’ formatting by adjusting margins? Knowing how to set margins in Excel is crucial in presenting professional-looking spreadsheets, especially when working with important data. Excel allows you to customize margins, set default margins, and apply them to specific cells, rows, and columns. This post will guide you through the steps of setting margins in Excel, providing a clear and concise approach to make your work stand out.
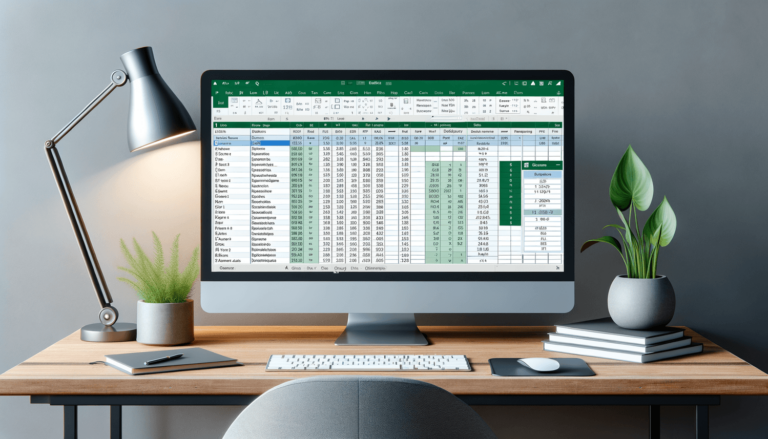
Select the Page Layout Tab
The first step in setting margins in Excel is selecting the Page Layout tab. This tab allows you to customize all the printing and formatting options of a worksheet. Click on it, located between the View and Formulas tabs.
Click on Margins and Create Custom Margins
Once you have selected the Page Layout tab, click on the Margins button. Click on the Custom Margins option and set the margins as desired. You can set margins for the entire document or specific sections. The default margins are set to 1 inch, but you can enter a custom size by typing the desired margin size in the text boxes.
Apply Margins to a Specific Range of Cells
You may want to apply margins to a specific range of cells instead of the entire worksheet. To do this, select the cells you want to apply margins to by highlighting them. Then, click on the Page Layout tab, select Margins, and Custom Margins. Enter the margin sizes you want for the selected cells and press OK.
Set Default Margins for All New Documents
If you want Excel to remember the margins you just set and use them for all new documents, click on the Set As Default button, located in the bottom left corner of the Margins dropdown menu. Excel will prompt you to confirm whether you want to apply these margins just to the current document or to all new documents. Click on the option that fits your preferences. From now on, all new Excel documents will have the margins you just set.
Final Thoughts
Setting margins in Excel is a simple yet essential task that will improve the appearance of your documents. With these easy-to-follow steps, you can set custom margins for the whole document, apply them to a specific range of cells, and set new documents’ default margins. You can use these skills to make professional-looking spreadsheets for work documents, class assignments, or personal finance sheets.
The Importance of Margins in Excel
Margins are an essential part of Excel documents, as they allow you to control the white space around the information on the page. Adjusting the margins can help information fit more easily on a printed page, give documents a more polished appearance, and make them easier to read. Using margins effectively can also prevent text from running off the page, making it more accessible to readers.
Customizing Margins for Improved Readability
If your Excel document is long, has a lot of data, or contains tables and charts, you may need to adjust the margins to improve readability. One way to do this is to widen the left and right margins to give the data more space. You can also set the margins to be equal on top and bottom, which can change the overall look of your document and make it easier to read.
Printing Margins vs. Display Margins
It is important to note that margins set for printing are not the same as margins set for display on the Excel worksheet. Margins set for printing determine how much space borders have around the document’s body when printed, whereas margins set for the display only affect how much space exists between the data and the edge of the page on the computer screen. Consequently, you need to set margins for print using the Page Layout tab, and you need to set margins for display using the View tab.
Using Margins for Headers and Footers
Headers and footers are a great way to give a professional look to your documents. Microsoft Excel has many pre-built headers and footers that you can use to add titles, dates, and page numbers. When creating headers and footers for your document, it is important to take margins into consideration. This is because the size of the margins determines how close to the edge of the paper your header and footer will appear. Ensure that your headers and footers are positioned correctly with ample space to prevent them from appearing cramped or inaccessible.
Final Thoughts
Knowing how to set margins in Excel is a useful skill for anyone using the program for personal or business purposes. With a little practice, you can quickly adjust margins and create spreadsheets that look professional, polished, and easy to read. Use the above steps to customize margins and leverage a variety of printing options that can make your documents stand out.
Frequently Asked Questions
How can I get Excel to automatically apply my preferred margins to all new workbooks?
You can set your preferred margins on an Excel workbook and make it the default template for all new workbooks to automatically apply the custom margins. To do so, open a new workbook, apply your desired margin settings, choose File > Save As, and in ‘Save as type’, select ‘Excel template (*.xltx)’. Give it a descriptive name and save it. The next time you open Excel, you can base new workbooks on this template.
Can I change the margins for just a portion of an Excel worksheet?
Yes, Excel allows you to apply unique margins to a specific range of cells. Highlight the cells that you want to change the margins of, click on the ‘Page Layout’ tab, select ‘Margins,’ and select ‘Custom Margins.’ Set the top, bottom, left, and right margins and click ‘OK.’ The unique margin setting will only apply to the selected cells.
How do I adjust the header and footer margins in Excel?
To adjust header and footer margins, click on the ‘Page Layout’ tab, select ‘Print Titles,’ and then click on the ‘Page Setup’ button. On the ‘Margins’ tab, adjust the Header/Footer Margin as desired and click ‘OK.’
Can margins in Excel be negative?
No, margins in Excel cannot be negative. If you try to enter negative values for margins, Excel will display an error message.
What is the default margin size in Excel?
The default margin size in Excel is 1 inch for all margins (top, bottom, left, and right).